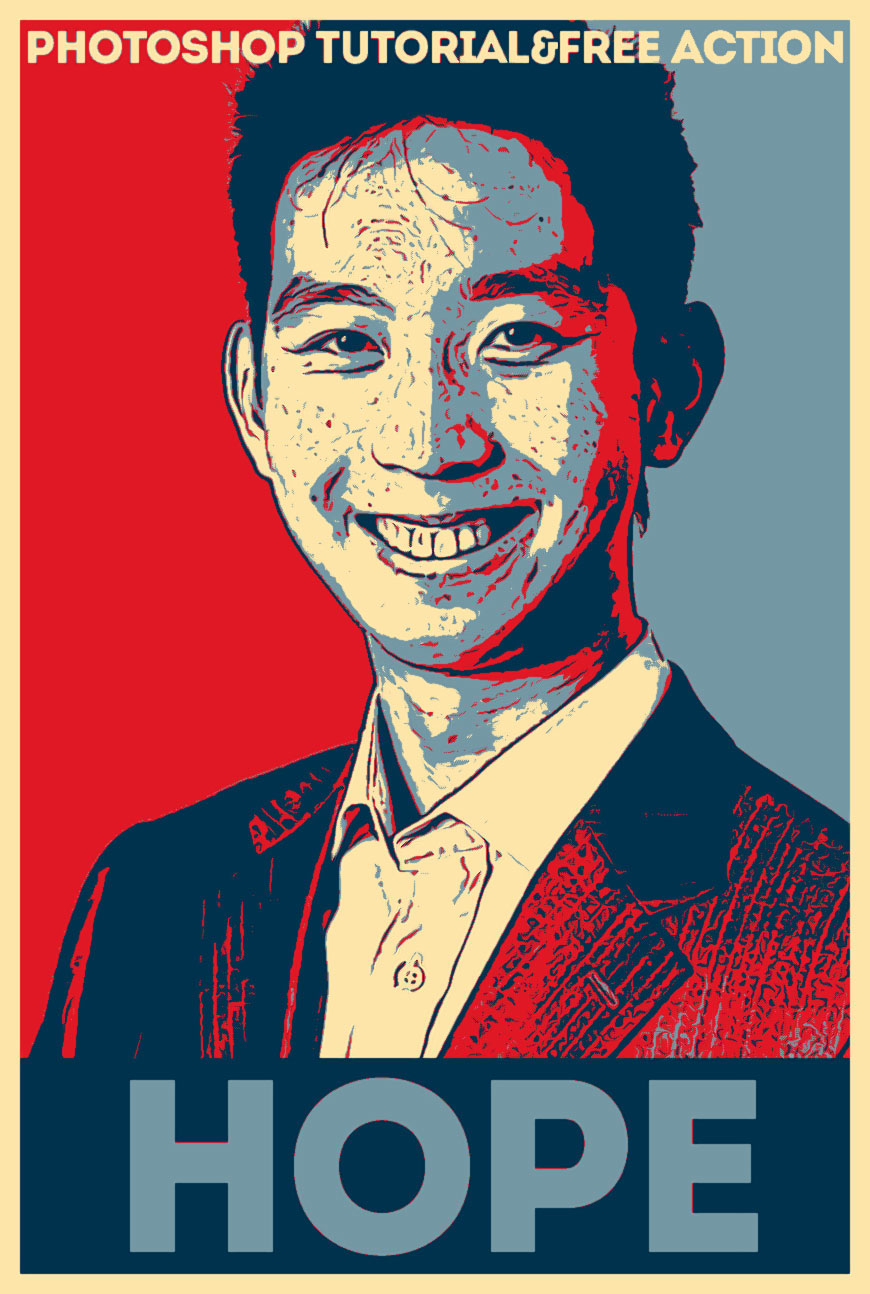
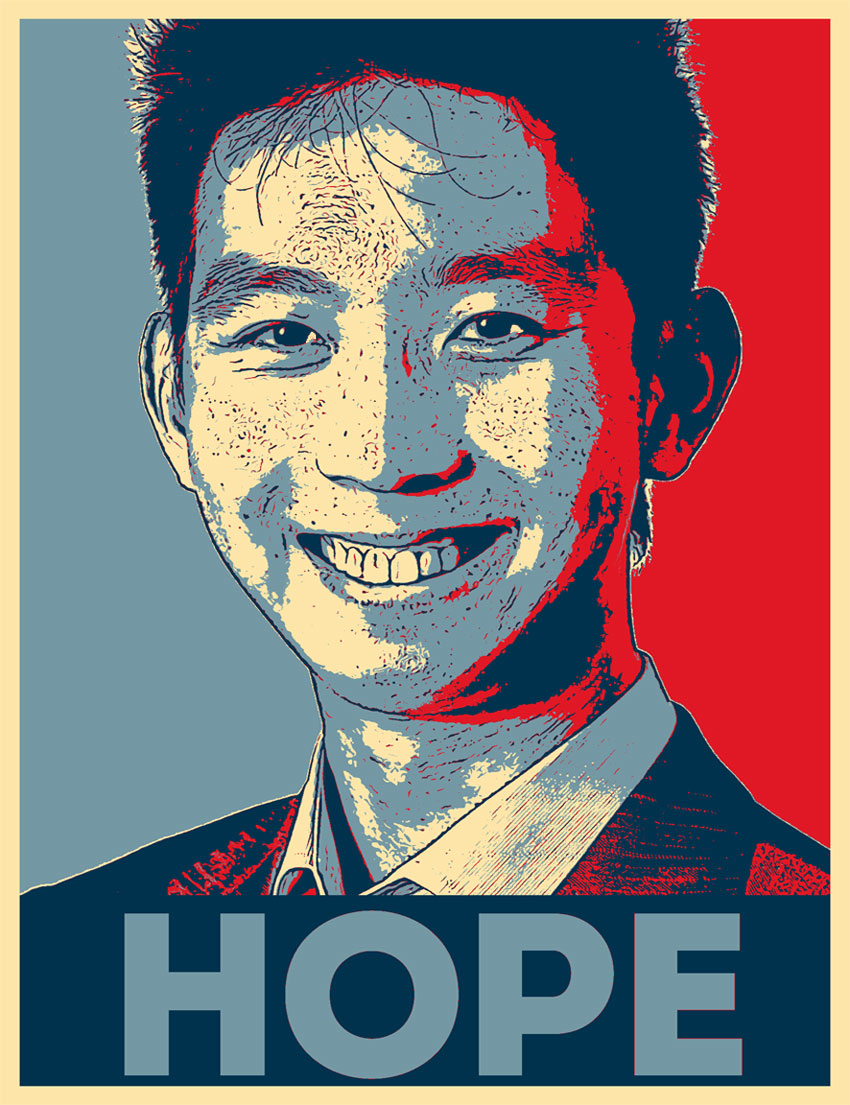
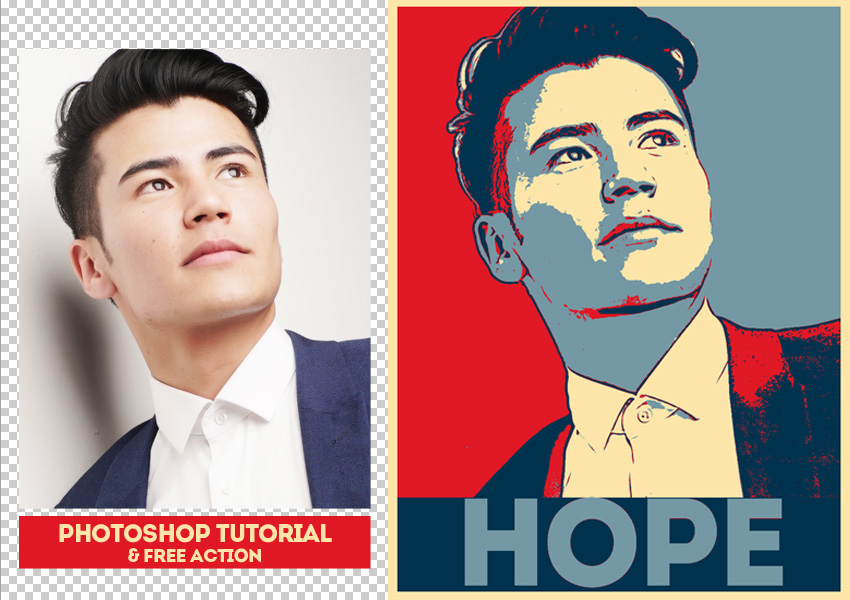
Learn how to recreate the Obama Hope poster effect in Photoshop using actions.
1. Add Your Photo In A New PSD File
This retro poster effect works great with portraits. So for this tutorial I will use a portrait of a young Asian man.
Add your photo in a new PSD file. Make sure the Image > Mode is set to RGB color.

2. Use The Magic Wand Tool To Remove The Background
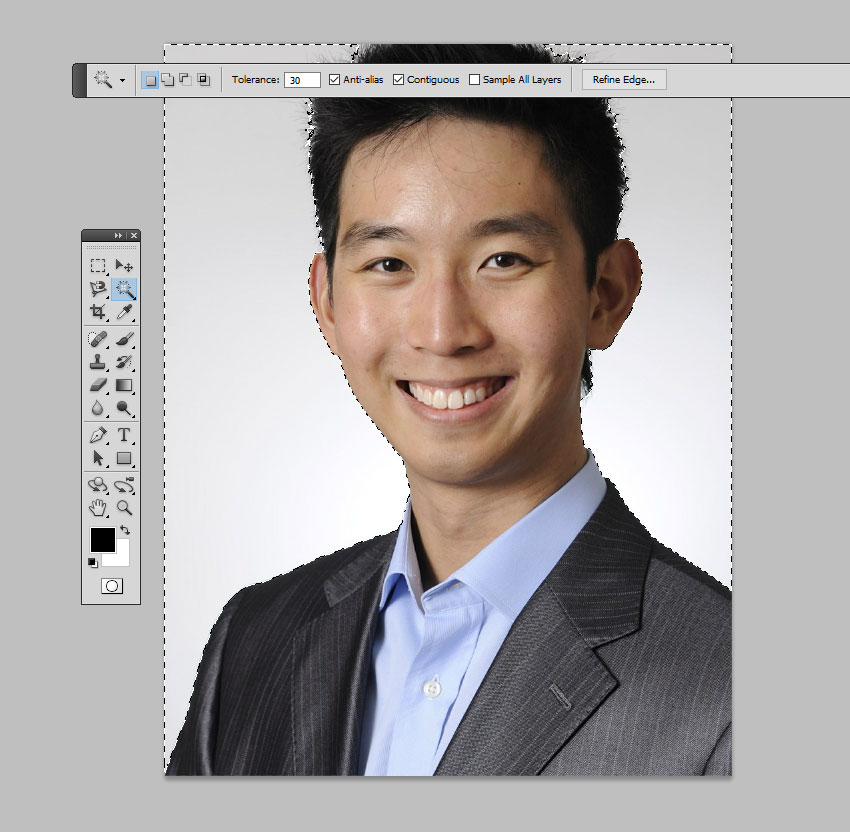
Pick the Magic Wand Tool and click on the background to make a selection. Press Delete to remove the background. If you have a photo with a background that can not be removed easily you can use the Pen Tool to remove the background.
3. Add A Gradient Background In Photoshop
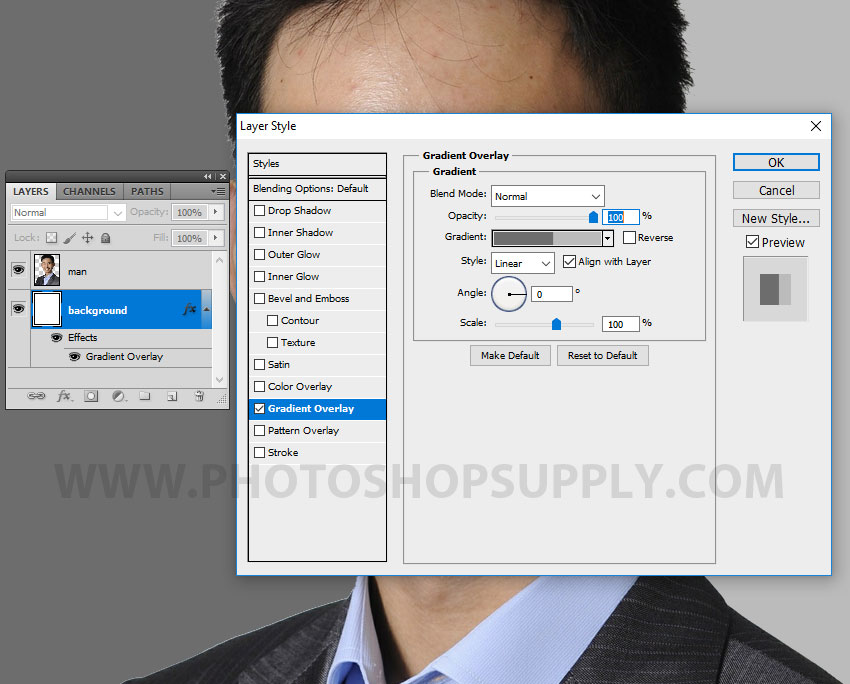
Make a new layer and place it behind the Man layer. Fill the layer with white color.
Add a Gradient Overlay layer style to the Background layer using this color map: color #6d6d6d (location 55%) and color #bbbbbb (location 55%)
4. Merge Layers In Photoshop
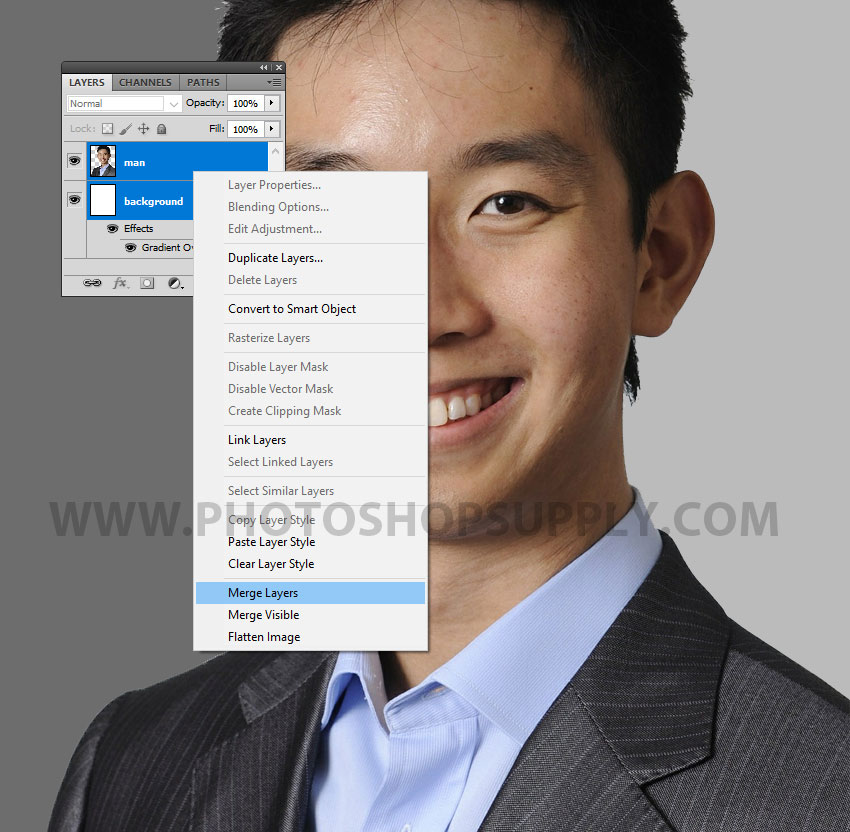
Click on the Background layer, keep the Shift key pressed and click on the Man layer to select the two layers.
Right click on the layers and choose Merge Layers.
5. Download The Obama Hope Poster Photoshop Action For Free
PhotoshopSupply offers you the Obama style poster generator for free. So download the Obama Hope Poster Photoshop Action for free.
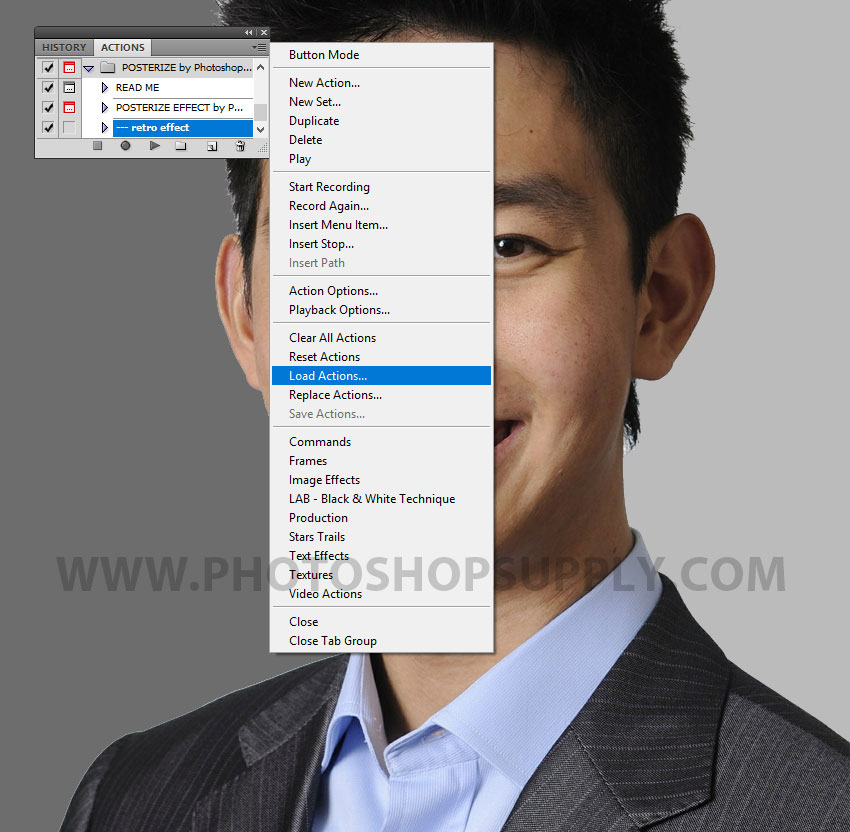
Go to Window > Actions and Load the action file (ATN file).
6. Play The Obama Hope Photoshop Action
How to use the Obama Hope poster generator? Choose the “POSTERIZE EFFECT by PhotoshopSupply.com” action and click the Play button.
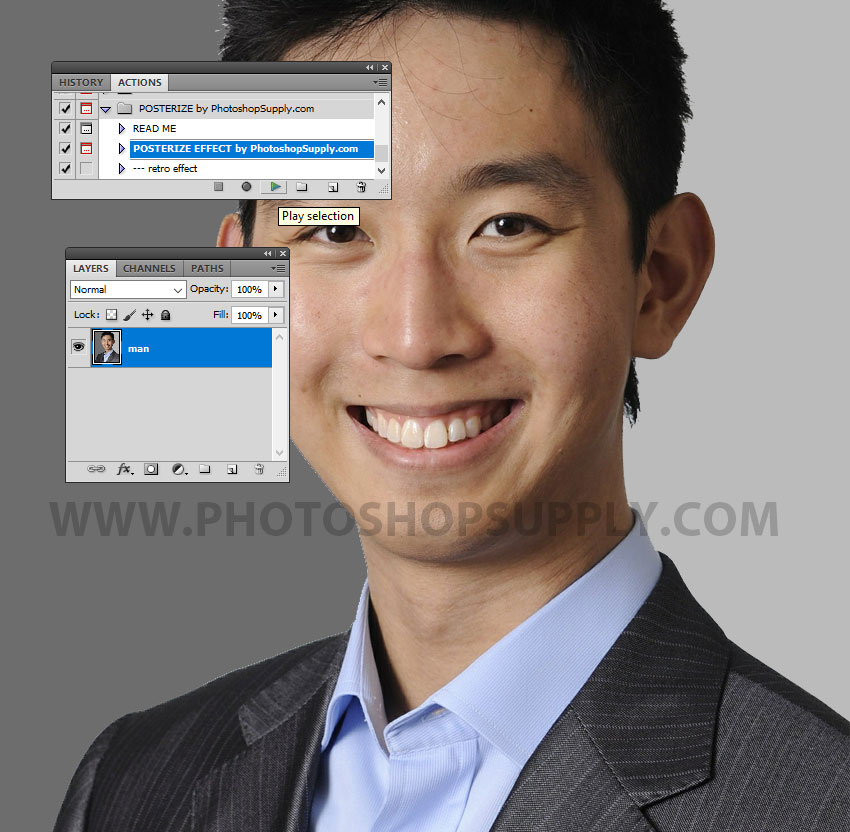
The action stops for you to resize and place the “Hope” Text layer. So resize the text and move it in the center of the label and press Enter.
For the action to work properly you have to have the Intro font installed.

7. Play The Retro Effect Action
To obtain the original retro look effect you have to also play the “— retro effect” action.
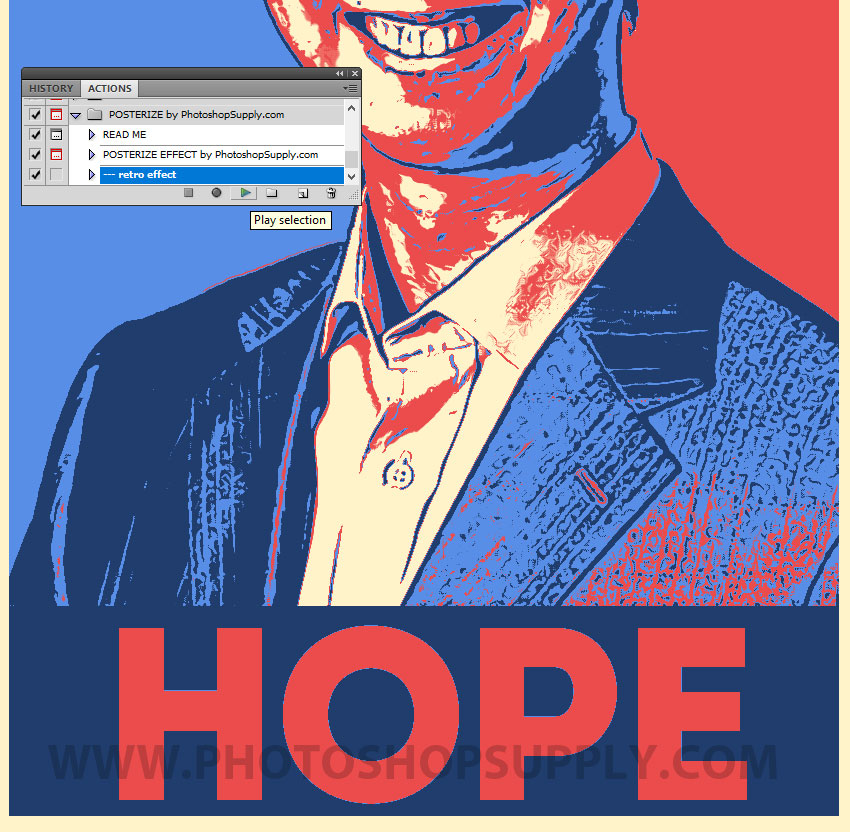
8. Customize The Obama Poster Result
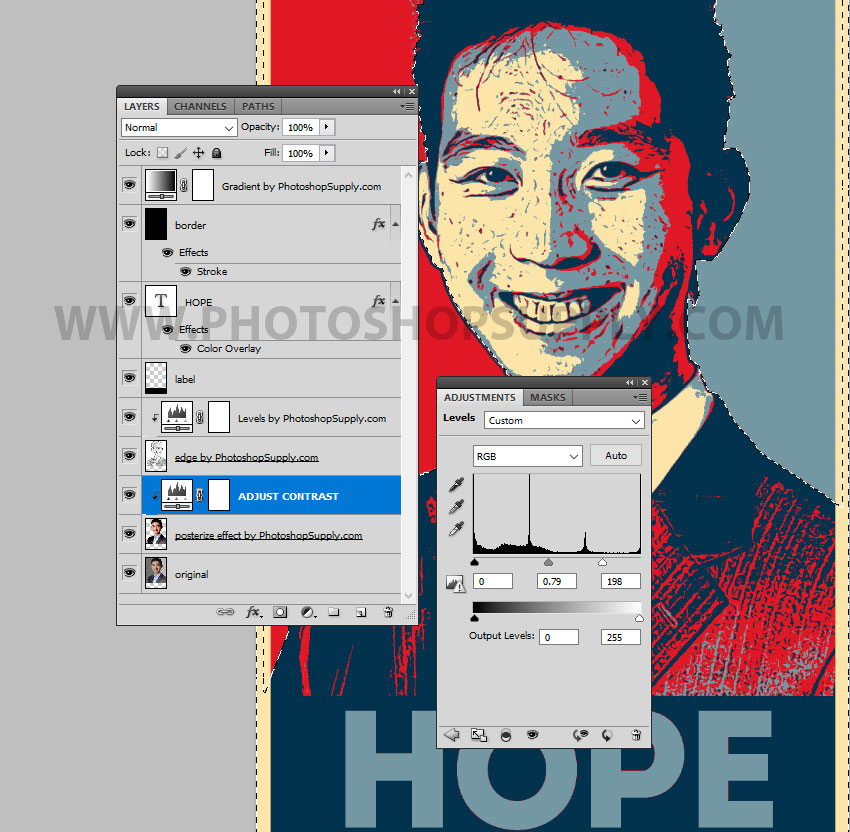
As you can see you have all the layers intact so you can customize the Obama hope poster.
The most important thing is the “Gradient by PhotoshopSupply.com” layer which is a Gradient Map adjustment layer.
Double click on the layer thumbnail and you can change the color tones.
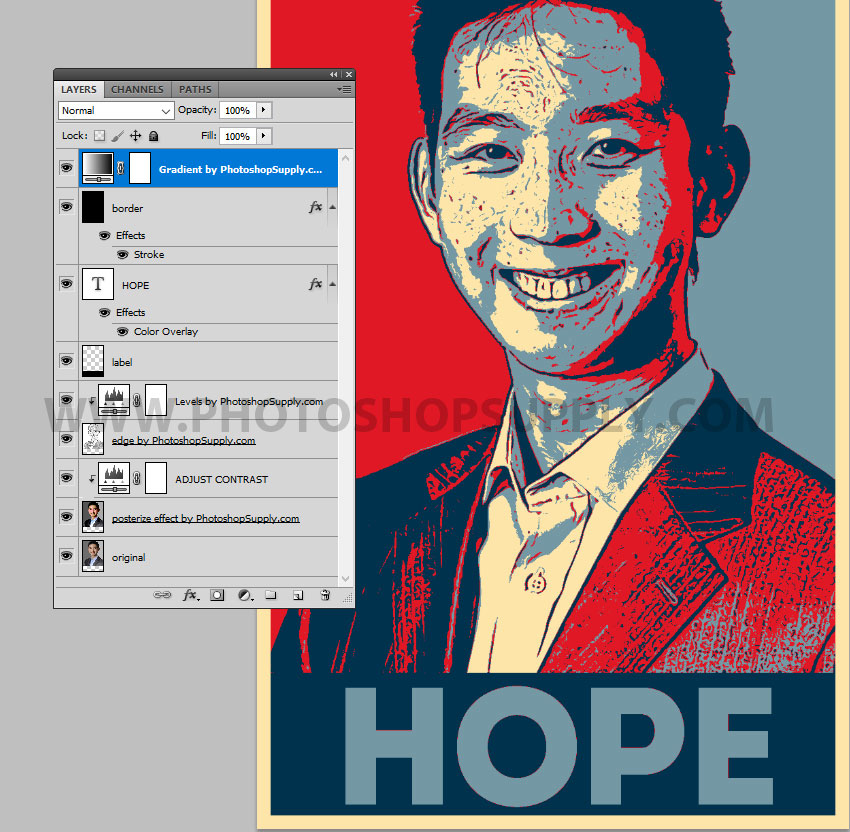
Another thing that you can do is to adjust the contrast of the portrait. Go to Original layer and use the Magic Wand Tool to select the background.
Press Shift-Control-I to invert the selection.
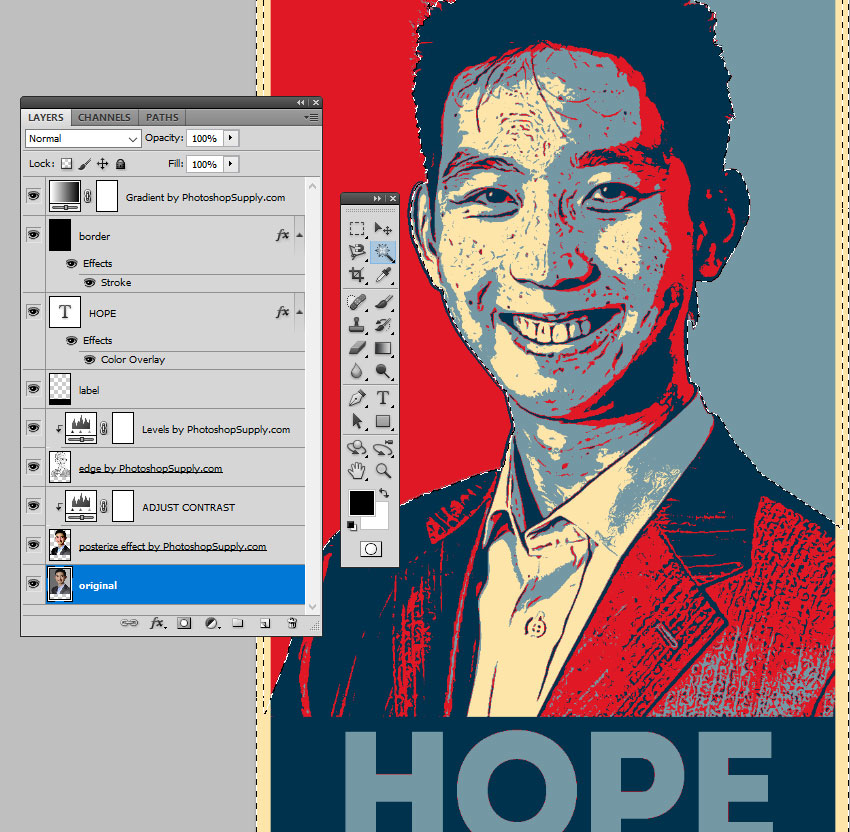
Go to Adjust Contrast layer and double click on the layer thumbnail to open the adjustment layer. This is a Levels adjustment.
Play with the settings to obtain a good contrast and the best result.
Press Control-D to deselect.
9. Congratulations, you made it!
So, here is the final result for the Obama Hope Poster effect made with our free Photoshop action. I hope you enjoyed this tutorial!
